It’s simple, and we’ll guide you every step of the way.
- Your ID must be in date and not expired
- Make sure there’s no glare, cropping, edits, or marks
- Use our secure uploader tool – never email documents to Customer Services
- Keep an eye on your inbox (and your junk folder!) for updates
Step-by-step guide:
Step 1: Get your valid ID ready
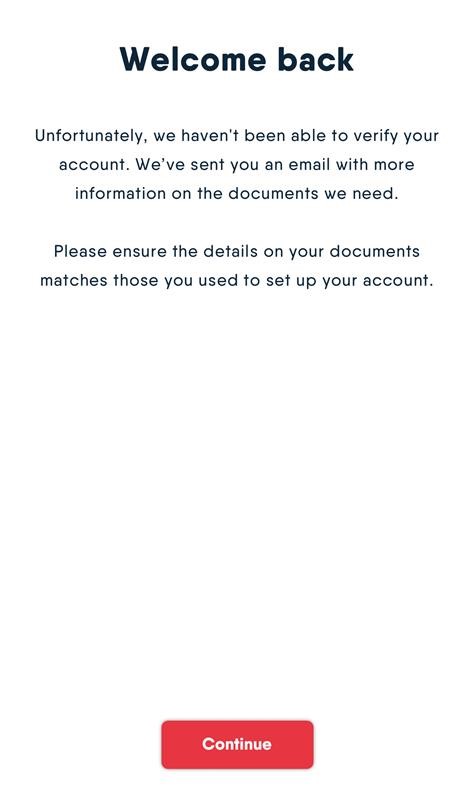
Step 2: Press Continue
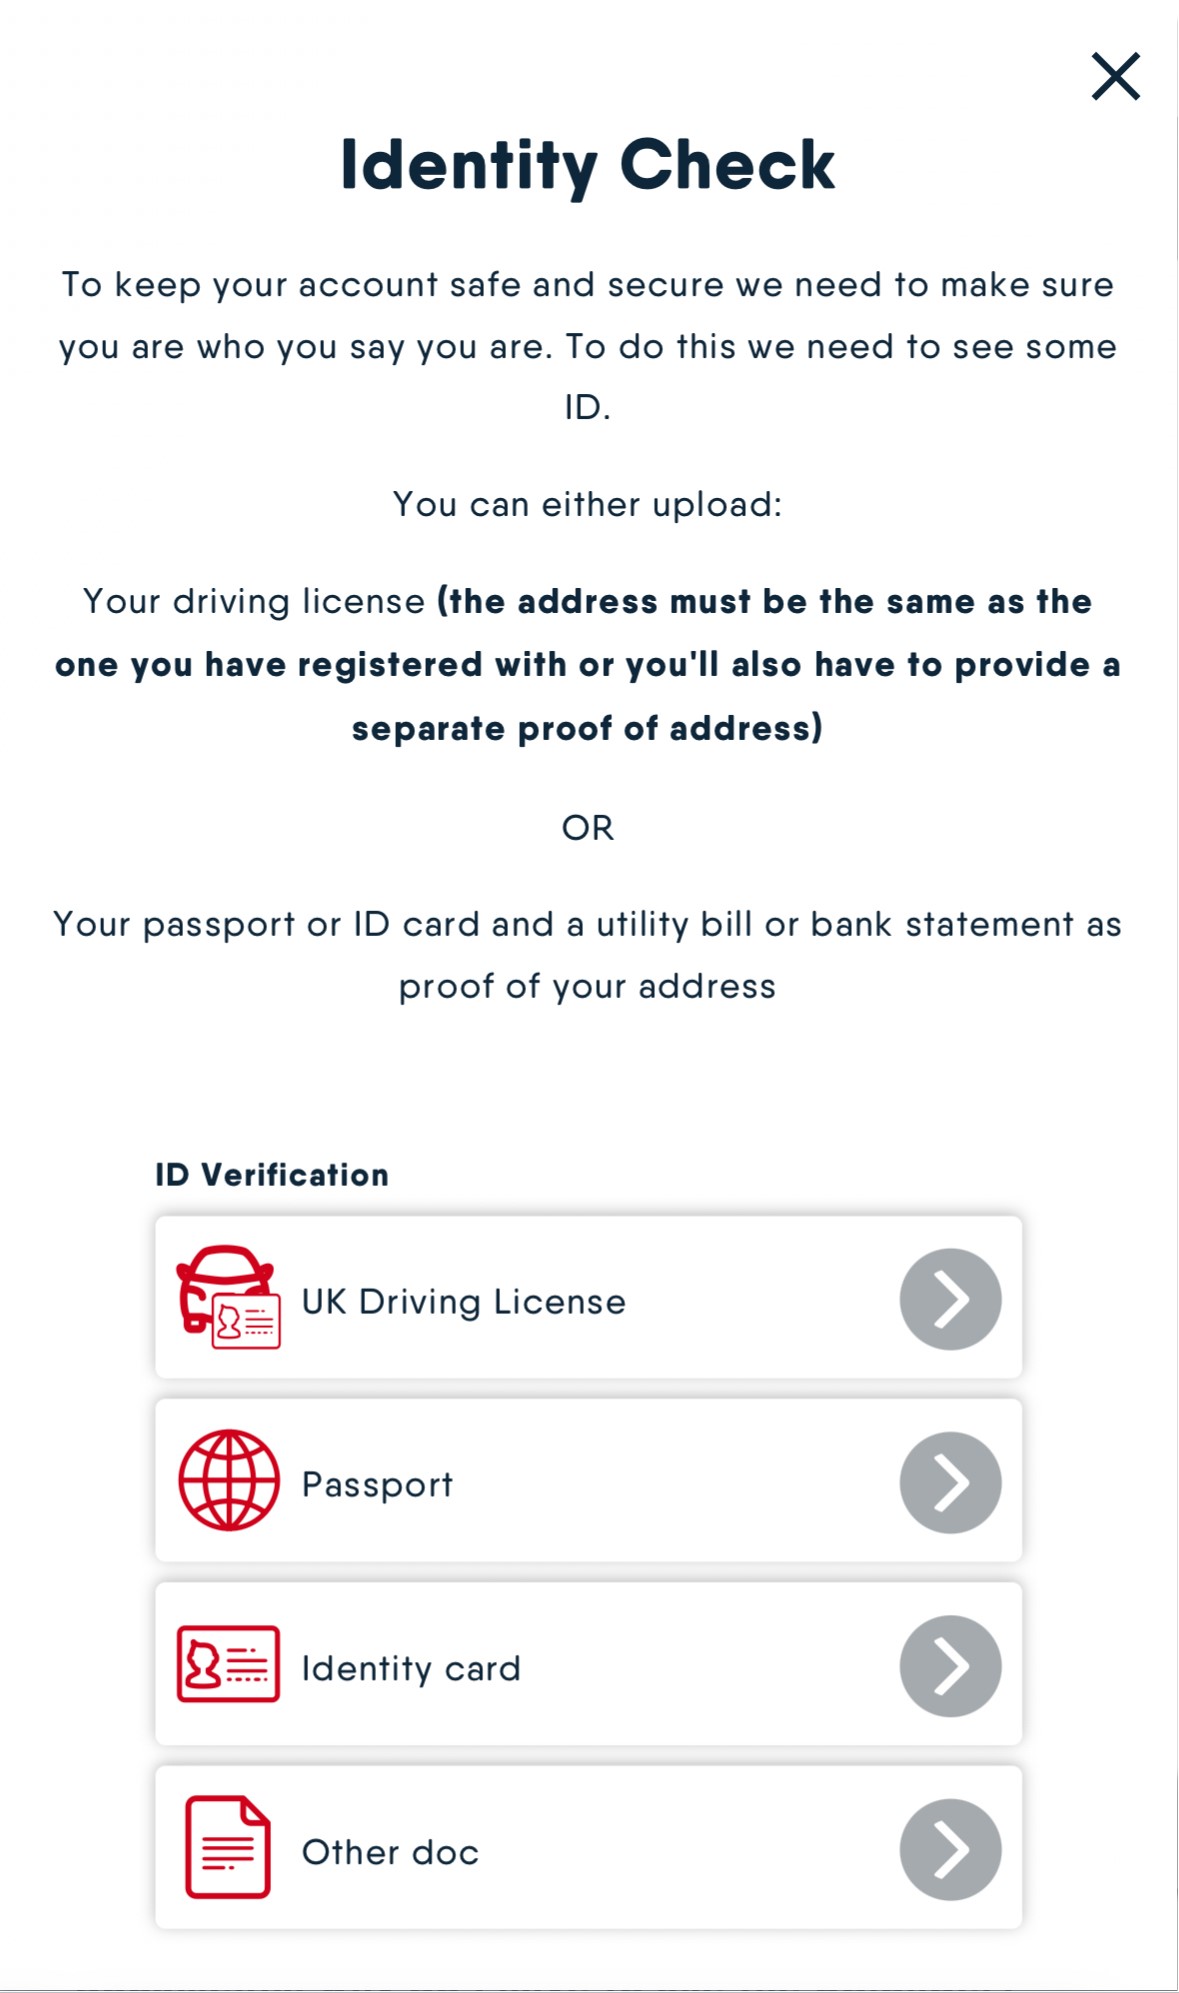
Step 3: Choose the ID type you’re uploading
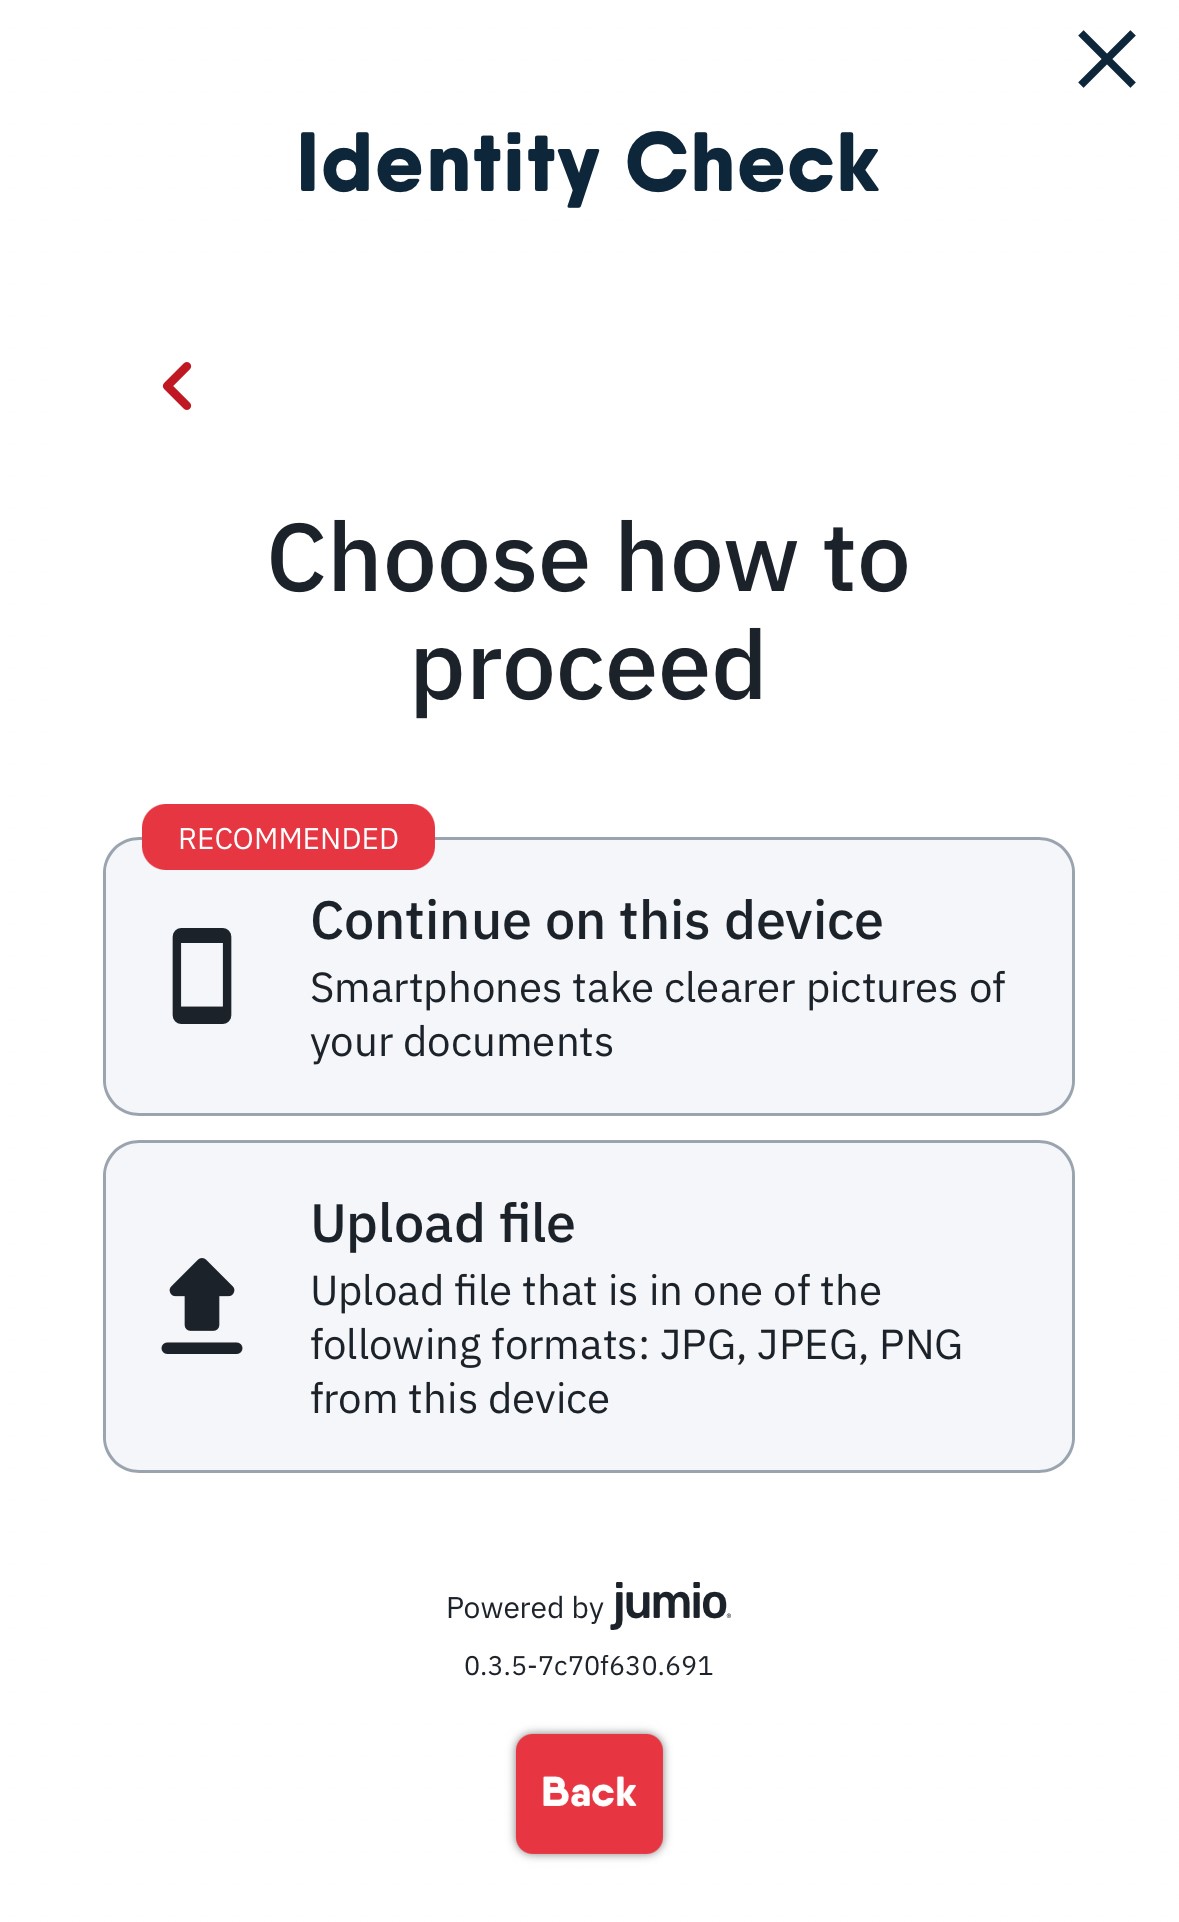
Step 4: Snap a clear photo or upload a scanned copy
Step 5: Review your image – make sure it’s clear, with no blurs or reflections, and that your full name and date of birth are easy to read
Step 6: Happy with it? Hit Confirm
Step 7: Let our system do a quick quality check (just to make sure we can read the details)
Step 8: Our team will review your upload and get back to you within 72 hours *Just a heads-up - this process is handled by an external team, not our Customer Services team. This means our Customer Services team isn’t able to speed things up or provide updates on the timeline.
Upload your docs through our secure Document Uploader– it’s the fastest and safest way to get verified.
 Contact Us


